Building your own gaming PC can be an incredibly rewarding and cost-effective endeavor. Whether you’re a seasoned gamer looking to upgrade your rig or a newcomer eager to embark on your gaming journey, understanding how to build a gaming PC is a valuable skill.
In this guide, we will walk you through the step-by-step process of assembling a gaming PC from scratch. You’ll learn not only how to select the right components but also how to put them together to create a powerful gaming machine that suits your needs and budget.
The Advantages of Building Your Own Gaming PC
Before we dive into the nitty-gritty of PC building, let’s briefly explore why building your own gaming PC is a compelling choice.
1. Cost Savings: Building your PC allows you to handpick components, potentially saving you money compared to buying a pre-built system with components you may not need.
2. Customization: With a custom-built PC, you have the freedom to choose components that align perfectly with your gaming preferences and performance requirements. This flexibility ensures that you get the most out of your gaming experience.
3. Upgradability: As games and software evolve, your PC may need upgrades. When you build your own PC, upgrading specific components like the graphics card or RAM is often more straightforward than with pre-built systems.
4. Learning Experience: Building a PC is a valuable learning opportunity. You’ll gain knowledge about the inner workings of computers, which can come in handy for troubleshooting and future upgrades.
5. Performance Control: You have full control over the quality of components, allowing you to build a high-performance PC that meets your gaming and productivity needs.
What You’ll Learn
By the end of this guide, you’ll be equipped with the knowledge and confidence to build your gaming PC successfully. We’ll cover each step in detail, from selecting the right components to the installation of the operating system. Whether you’re building a budget-friendly gaming PC or a high-end gaming powerhouse, this guide has you covered.
Planning Your Gaming PC Build
Before you start assembling your gaming PC, it’s essential to plan carefully. This phase will set the foundation for a successful build that aligns with your gaming needs and budget. Here’s how to get started:
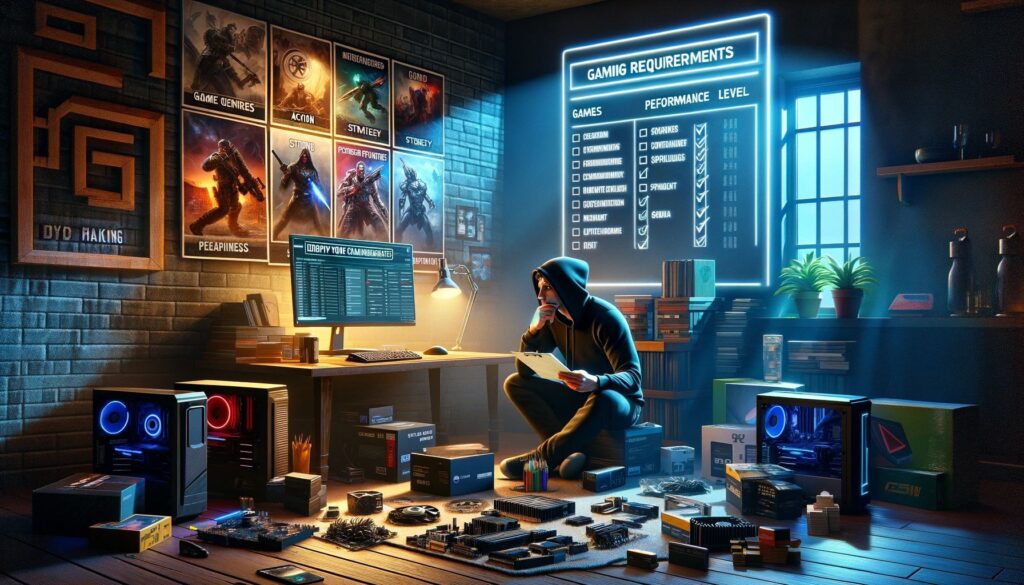
1. Identify Your Gaming Requirements
The first step in planning your gaming PC build is to determine your specific gaming requirements. Consider the types of games you’ll be playing, the level of performance you desire, and any special features or capabilities you want your PC to have. This will help you select components that are tailored to your needs.
2. Set Your Budget
Establishing a budget is crucial when building a gaming PC. Determine how much you’re willing to invest in your build, taking into account not only the core components but also peripherals like a monitor, keyboard, and mouse. Your budget will influence your component choices.
3. Choose the Right Components
Now comes the exciting part: selecting the components that will make up your gaming PC. Here’s a breakdown of the key components to consider:
a. Central Processing Unit (CPU): The CPU is the brain of your PC. Research different CPU models and select one that provides the performance you need for gaming and other tasks.
b. Graphics Processing Unit (GPU): The GPU, or graphics card, is crucial for gaming performance. Choose a GPU that matches your gaming goals, whether it’s high-quality graphics, high frame rates, or both.
c. Motherboard: The motherboard connects all your components and determines compatibility. Ensure it supports your CPU and GPU, has sufficient RAM slots, and offers necessary features.
d. RAM (Random Access Memory): Opt for sufficient RAM to handle your gaming and multitasking needs. Most modern games require at least 8GB, but 16GB or more is recommended for smoother performance.
e. Storage: Decide between an SSD (Solid State Drive) for faster load times or an HDD (Hard Disk Drive) for more storage space. Many gamers opt for a combination of both.
f. Power Supply Unit (PSU): Choose a PSU with enough wattage to power all your components safely. Consider future upgrades when selecting the wattage.
g. Case: Select a case that fits your chosen components, provides good airflow, and has room for cable management. Aesthetics can also play a role in your choice.
h. Cooling: Proper cooling is essential to prevent overheating. Decide between air and liquid cooling options, considering the thermal demands of your CPU and GPU.
i. Additional Peripherals: Don’t forget about peripherals like a monitor, keyboard, and mouse. These should complement your gaming experience.
4. Compatibility Considerations
Ensure that all your selected components are compatible with each other and fit within your chosen case. Refer to the motherboard’s specifications to confirm compatibility, especially for CPU and RAM. Double-check the physical dimensions to prevent any surprises during assembly.
By carefully planning your gaming PC build, you’ll be well-prepared to make informed decisions when selecting components in the next phase.
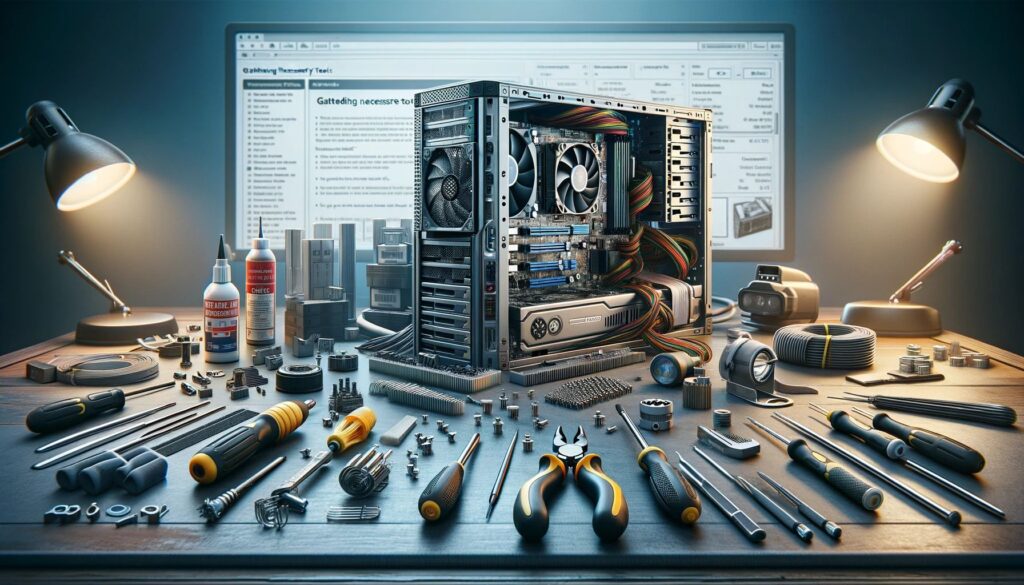
Gathering Necessary Tools
Before you can start assembling your gaming PC, it’s essential to gather the necessary tools and equipment. Having the right tools on hand will make the assembly process smoother and more efficient. Here’s a list of essential items you’ll need:
1. Screwdriver
A Phillips-head screwdriver is one of the most important tools you’ll need. It’s used for securing components like the motherboard, power supply, and storage drives into the case. Make sure it’s the appropriate size for the screws in your components.
2. Anti-Static Wrist Strap
Static electricity can damage sensitive PC components, so it’s a good idea to wear an anti-static wrist strap. Attach one end to your wrist and the other to a metal part of your PC case to discharge any static buildup from your body.
3. Cable Ties or Velcro Straps
Cable ties or Velcro straps will help you neatly organize and secure the various cables inside your PC case, preventing clutter and improving cooling.
4. Flashlight or Headlamp
A source of good lighting is crucial for working inside the PC case, especially when connecting cables and securing components in tight spaces. A flashlight or a headlamp with an adjustable beam can be very useful.
5. Workspace
Set up a clean and well-organized workspace with ample space to lay out your components and work comfortably. Make sure the area is free from dust, liquids, and potential hazards.
6. Thermal Paste (if not included)
If your CPU cooler doesn’t come with pre-applied thermal paste or you’re using an aftermarket cooler, you’ll need a small amount of thermal paste for proper heat transfer between the CPU and cooler.
7. Magnetic Parts Tray
A magnetic parts tray can be handy for keeping track of screws and small components. It prevents them from getting lost or rolling away during the build.
8. Manual and Component Documentation
Keep the manuals for your components handy. They provide important instructions for installation and troubleshooting. Additionally, online video tutorials and guides specific to your components can be valuable resources.
9. Internet Access
Having access to the internet during your build can be helpful for looking up component-specific instructions or troubleshooting tips if you encounter any issues.
10. Patience and Attention to Detail
While not a physical tool, patience and attention to detail are essential when building a gaming PC. Take your time to ensure all components are correctly installed, and cables are properly connected.
Having these tools and items ready before you begin the assembly process will streamline your PC building experience and minimize the chances of encountering problems.
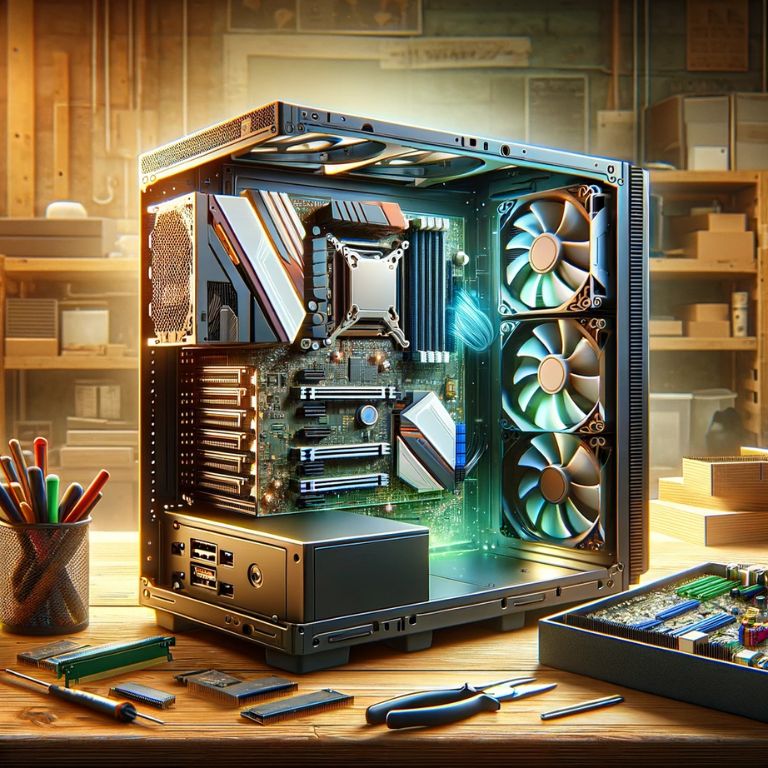
Assembling the PC
Now that you have planned your gaming PC build and gathered the necessary tools, it’s time to start putting everything together. Follow these step-by-step instructions to assemble your gaming PC:
1. Prepare Your Workspace
Ensure you have a clean, well-lit workspace, and ground yourself by wearing an anti-static wrist strap connected to the PC case to prevent static discharge. Lay out all your components and tools within easy reach.
2. Install the CPU and Cooler
- Locate the CPU socket on the motherboard.
- Open the CPU socket by lifting the retention arm.
- Carefully align the notches on the CPU with those on the socket and gently place it in.
- Lower the retention arm to secure the CPU in place.
- Apply a small amount of thermal paste to the CPU if it’s not pre-applied on the cooler.
- Attach the CPU cooler, ensuring it’s seated correctly and secured using the provided screws or brackets.
3. Install RAM
- Locate the RAM slots on the motherboard.
- Unlock the RAM slots by pushing down on the latches at either end.
- Align the notch on the RAM stick with the notch on the slot.
- Gently but firmly push the RAM stick into the slot until the latches click into place.
4. Install the Motherboard

- Position the motherboard in the case, aligning it with the standoffs.
- Secure the motherboard to the case using screws. Be careful not to overtighten them.
5. Install Storage Drives
- If using an SSD or HDD, locate the drive bays in the case.
- Attach the storage drive to the bay using screws or tool-free mechanisms.
6. Connect Power Supply Cables
- Connect the motherboard’s main power cable (24-pin) to the corresponding connector on the motherboard.
- Connect the CPU power cable (4-pin or 8-pin) to the CPU power connector on the motherboard.
- Connect the SATA power cables to your storage drives.
7. Connect Data Cables
- Connect SATA data cables from your storage drives to the motherboard.
- Connect data cables for any other peripherals (e.g., optical drives) as needed.
8. Install the Graphics Card
- Locate the PCIe slot on the motherboard.
- Remove the PCIe slot covers on the case to accommodate the graphics card.
- Carefully insert the graphics card into the PCIe slot and secure it with screws to the case if necessary.
- Connect the PCIe power cables from the power supply to the graphics card.
9. Cable Management
- Organize and route cables neatly to ensure good airflow and aesthetics.
- Use cable ties or Velcro straps to bundle and secure cables together.
10. Check Connections
- Double-check all connections, making sure everything is securely seated.
- Verify that all power and data cables are connected to the correct components.
11. Close the Case
- Carefully close the PC case, ensuring that no cables are pinched or obstructed.
- Secure the case panels with screws.
12. Power On
- Connect the monitor, keyboard, and mouse to the PC.
- Plug in the power cable and turn on the power supply.
- Press the power button on the case to start the PC.
Installing the Operating System
With your gaming PC assembled, the next crucial step is installing the operating system (OS). Here’s how to do it:
1. Prepare Your Installation Media
- Obtain a bootable installation media, typically a USB flash drive or a DVD, containing the OS you want to install (e.g., Windows 10/11).
- Insert the installation media into a USB port or the optical drive.
2. Boot from the Installation Media
- Turn on your PC.
- As the PC starts up, access the BIOS/UEFI settings by pressing the designated key (usually Del, F2, F12, or Esc) during the boot process.
- In the BIOS/UEFI settings, set the boot priority to boot from the installation media first.
- Save the changes and exit the BIOS/UEFI.
3. Install the Operating System
- The PC will now boot from the installation media. Follow the on-screen instructions to begin the OS installation.
- Select your language, time, and currency preferences.
- Enter your product key (if required) and choose the installation type (typically “Custom”).
- Select the drive where you want to install the OS. If you have an SSD and an HDD, consider installing the OS on the SSD for faster performance.
- Follow the prompts to complete the installation process. The PC will restart multiple times during this process.
4. Set Up Your User Account
- Once the OS installation is complete, you’ll be prompted to create or sign in with a user account.
- Follow the on-screen instructions to set up your user account, password, and other preferences.
5. Install Drivers
- After logging in, the OS may automatically install some basic drivers, but it’s essential to install the latest drivers for your components for optimal performance. Visit the websites of your motherboard and GPU manufacturers to download the latest drivers.
6. Update the OS
- Ensure that your OS is up to date by installing the latest updates and security patches. This helps improve stability and security.
7. Install Essential Software
- Install essential software such as web browsers, antivirus programs, and gaming platforms (e.g., Steam, Epic Games Store).
- Customize your PC with additional software and applications as needed.
8. Set Up Peripherals
- Connect and set up your monitor, keyboard, mouse, and any other peripherals.
- Configure display settings, resolution, and refresh rate to your preference.
9. Test Your PC
- Test your PC’s performance by running a benchmark or stress test.
- Install your favorite games and enjoy your newly built gaming rig!
10. Backup Your Data
- Regularly back up your important data to an external drive or cloud storage to protect against data loss.
Your gaming PC is now up and running with a fresh operating system. You can start downloading and playing your favorite games, working, or using your PC for any other tasks. Keep your PC updated, and it will continue to provide you with an excellent gaming experience.
Optimizing Performance
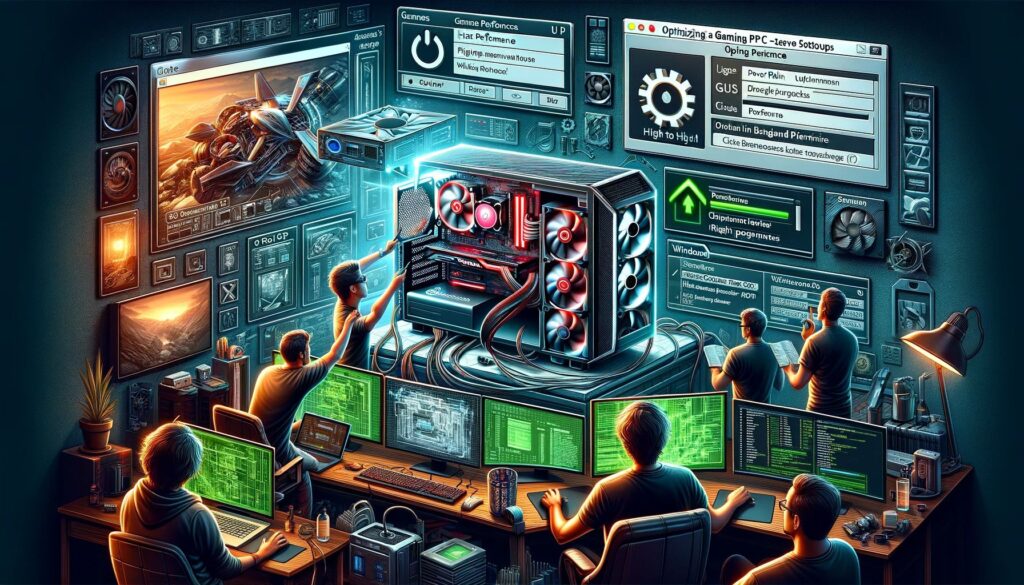
After installing your operating system, you’ll want to optimize your gaming PC’s performance to ensure the best gaming experience. Here are some tips and adjustments you can make:
- Graphics Settings
- Adjust in-game graphics settings to find the right balance between visual quality and performance. Lower settings can improve frame rates.
- Consider enabling features like V-Sync, G-Sync, or FreeSync for smoother gameplay.
- Graphics Card Drivers
- Ensure your graphics card drivers are up to date. Check the manufacturer’s website for the latest drivers and install them.
- Configure graphics card settings using the control panel or software provided by the manufacturer.
- Windows Updates
- Keep your Windows OS up to date by installing the latest updates. These updates can include performance improvements and bug fixes.
- Power Plan
- Set your power plan to “High Performance” in the Windows power settings to maximize system performance. This can reduce CPU throttling during gameplay.
- Overclocking (Advanced Users)
- If you’re comfortable with overclocking, you can tweak CPU and GPU settings to get more performance out of your components. Be cautious and follow overclocking guides to avoid damage.
- Background Processes
- Close unnecessary background processes and applications to free up system resources. Use the Task Manager to identify and end tasks that consume CPU and RAM.
- Storage Optimization
- If you have an SSD, ensure it’s properly optimized for performance. This includes enabling TRIM and disabling disk defragmentation.
- Regularly clean up unnecessary files and programs to maintain adequate storage space.
- Temperature Management
- Monitor your PC’s temperatures to prevent overheating. Install additional case fans or consider upgrading your CPU cooler if necessary.
- Keep your gaming area well-ventilated to maintain optimal cooling.
- Monitor Refresh Rate
- Ensure your monitor is set to its maximum refresh rate in the display settings. Higher refresh rates can provide smoother gaming experiences.
- Game Optimizations
- Many games offer optimization guides or tools to help you adjust settings for your specific hardware. Take advantage of these if available.
- Regular Maintenance
- Clean your PC regularly to prevent dust buildup, which can affect cooling and performance.
Conclusion
In conclusion, building a gaming PC is a rewarding endeavor that empowers you to create a customized system tailored to your gaming preferences. Through careful planning, meticulous assembly, and ongoing maintenance, you can not only enjoy a superior gaming experience but also gain a deeper understanding of the inner workings of computers. Whether you’re a beginner embarking on your first build or an experienced enthusiast seeking to optimize performance, this step-by-step guide provides valuable insights and resources to assist you on your PC-building journey.
Remember that the world of PC hardware and gaming is constantly evolving, so staying informed and being open to new technologies and upgrades will help you keep your gaming rig at its best. With the right knowledge, tools, and passion, you can achieve a gaming PC that delivers exceptional performance, and the possibilities for gaming adventures are endless. Happy gaming!