Generative Artificial Intelligence (AI) is a captivating field that has the power to create new content, whether it’s generating realistic images from scratch, composing music, or even crafting human-like text. If you’ve ever been fascinated by the idea of machines that can create art, poetry, or music, you’re in for a treat. In this beginner-friendly guide, we’ll introduce you to the world of generative AI and empower you to embark on your journey of creating your first generative AI project using TensorFlow.
Getting Started with TensorFlow
What is TensorFlow?
Before diving into the world of generative AI, let’s take a moment to understand what TensorFlow is and why it’s a preferred tool for AI development.
TensorFlow, developed by Google, is an open-source machine learning framework that provides a comprehensive ecosystem for building and deploying machine learning models. It’s known for its flexibility, scalability, and extensive community support, making it an ideal choice for both beginners and experts in the field of AI.
One of the standout features of TensorFlow is its ability to handle various types of machine learning tasks, including deep learning, natural language processing, and, of course, generative AI. TensorFlow provides a high-level API called TensorFlow Keras, which simplifies the process of building neural networks, making it accessible to those with limited experience in deep learning.
Installing TensorFlow
Now that we understand what TensorFlow is, let’s set it up on your system so that you can start building your generative AI models. Follow these step-by-step instructions to get TensorFlow up and running:
- Choose Your Environment: TensorFlow can be installed on various platforms, including Windows, macOS, and Linux. Make sure to select the environment that matches your operating system.
- Create a Virtual Environment (Optional): It’s a good practice to create a virtual environment for your TensorFlow project to isolate its dependencies from other Python projects. You can use tools like
virtualenvorcondato create a virtual environment.
- Install TensorFlow: You can install TensorFlow using Python’s package manager,
pip. Open your command prompt or terminal and run the following command to install the CPU version of TensorFlow:
pip install tensorflowIf you have a compatible GPU and want to leverage its power for faster training, you can install the GPU version with the following command:
pip install tensorflow-gpu4. Verify Installation: After installation, it’s essential to verify that TensorFlow is correctly installed. Open a Python shell or a Jupyter Notebook and run the following code:
import tensorflow as tf
print("TensorFlow Version:", tf.__version__)
If you see the TensorFlow version displayed without any errors, congratulations! You’ve successfully installed TensorFlow.
Now that you have TensorFlow up and running, you’re ready to dive deeper into the world of generative AI. In the next section, we’ll explore the Python essentials you need to work with TensorFlow effectively.
Python Essentials for TensorFlow
Python Basics for TensorFlow
Before we start creating generative AI models with TensorFlow, let’s cover some essential Python concepts that are fundamental to understanding and working with the framework. If you’re already familiar with Python, feel free to skip ahead to the next section.
Python is a versatile and beginner-friendly programming language widely used in the field of AI and data science. To work with TensorFlow, you’ll need a solid grasp of basic Python concepts, including variables, data structures, and control structures.
Variables: In Python, variables are used to store data. You can create a variable and assign a value to it like this:
# Define a variable 'x' and assign a value
x = 10
Variables can hold various types of data, including integers, floating-point numbers, strings, and more. Understanding how to use variables is crucial when working with TensorFlow, as you’ll frequently store and manipulate numerical data.
Data Structures: Python offers several built-in data structures, such as lists, dictionaries, tuples, and sets. These data structures allow you to organize and manipulate data efficiently. Here are some examples:
# Create a list
fruits = ['apple', 'banana', 'cherry']

# Create a dictionary
person = {'name': 'Alice', 'age': 30, 'city': 'New York'}
In TensorFlow, you’ll often use data structures to handle datasets, store model parameters, and manage other essential components of your AI projects.
Control Structures: Control structures like loops and conditional statements help you control the flow of your program. Here are examples of a for loop and an if statement:
# Iterate through a list
for fruit in fruits:
    print(fruit)

# Check if a condition is true
if age >= 18:
    print("You are an adult.")
else:
    print("You are a minor.")
These control structures come in handy when you need to train and evaluate AI models with TensorFlow.
Introduction to NumPy
NumPy (Numerical Python) is a fundamental library for numerical computations in Python. It provides support for arrays and matrices, along with a wide range of mathematical functions to operate on these data structures. NumPy is essential when working with TensorFlow because it enables efficient data manipulation and mathematical operations.
To use NumPy with TensorFlow effectively, you should first install it if you haven’t already. You can install NumPy using pip:
pip install numpy
Once NumPy is installed, you can import it into your Python script or Jupyter Notebook as follows:
import numpy as np
Now, let’s explore some of the key NumPy concepts that will be valuable when coding with TensorFlow.
NumPy Arrays: The primary data structure in NumPy is the numpy.ndarray, commonly known as a NumPy array. NumPy arrays are similar to Python lists, but they offer more capabilities and better performance for numerical operations. You can create a NumPy array from a Python list like this:
import numpy as np

my_list = [1, 2, 3, 4, 5]
my_array = np.array(my_list)
NumPy arrays are the preferred data structure for storing and manipulating data in TensorFlow.
Array Operations: NumPy provides a vast collection of functions for performing operations on arrays. For example, you can perform element-wise addition, subtraction, multiplication, and division on arrays without writing explicit loops:
import numpy as np

array1 = np.array([1, 2, 3])
array2 = np.array([4, 5, 6])

result = array1 + array2  # Element-wise addition
These array operations are crucial when working with the numerical data used in AI and machine learning.
Now that we’ve covered the Python essentials for TensorFlow, you have a strong foundation to start building your generative AI models. In the next section, we’ll guide you through the process of creating your first generative AI model using TensorFlow.
Building Your First Generative AI Model

Creating a Simple Image Generator
In this section, we’ll walk you through the process of building a simple image generator using TensorFlow. You’ll witness the magic of generative AI as your model creates images from scratch.
Generative Adversarial Networks (GANs) are a popular architecture for generative AI, and we’ll use them as the foundation for our image generator. GANs consist of two neural networks: a generator and a discriminator. The generator’s role is to create fake data, such as images, while the discriminator’s job is to distinguish between real and fake data.
Here’s a step-by-step guide to creating your image generator:
Step 1: Import TensorFlow and Necessary Libraries
Before we begin, let’s import TensorFlow and some additional libraries that will help us with our image generator:
import tensorflow as tf
from tensorflow.keras import layers
import numpy as np
import matplotlib.pyplot as plt
Step 2: Define the Generator Model
Next, we’ll define the generator model. This model takes random noise as input and generates an image as output. We’ll use TensorFlow’s Keras API to build the model:
def build_generator():
    model = tf.keras.Sequential()
    model.add(layers.Dense(7*7*256, use_bias=False, input_shape=(100,)))
    model.add(layers.BatchNormalization())
    model.add(layers.LeakyReLU())

    model.add(layers.Reshape((7, 7, 256)))
    assert model.output_shape == (None, 7, 7, 256)

    model.add(layers.Conv2DTranspose(128, (5, 5), strides=(1, 1), padding='same', use_bias=False))
    assert model.output_shape == (None, 7, 7, 128)
    model.add(layers.BatchNormalization())
    model.add(layers.LeakyReLU())

    model.add(layers.Conv2DTranspose(64, (5, 5), strides=(2, 2), padding='same', use_bias=False))
    assert model.output_shape == (None, 14, 14, 64)
    model.add(layers.BatchNormalization())
    model.add(layers.LeakyReLU())

    model.add(layers.Conv2DTranspose(1, (5, 5), strides=(2, 2), padding='same', use_bias=False, activation='tanh'))
    assert model.output_shape == (None, 28, 28, 1)

    return model
This generator model uses a series of layers to upscale the input noise into a 28×28 pixel image.
Step 3: Generate Random Noise
In the next step, we’ll generate random noise that will serve as input to the generator. This noise will be used to produce images:
def generate_noise(batch_size, noise_dim):
    return tf.random.normal([batch_size, noise_dim])
Step 4: Generate Fake Images
With the generator model and noise ready, we can now generate fake images. We’ll pass the random noise through the generator to create images:
def generate_fake_images(generator, batch_size, noise_dim):
    noise = generate_noise(batch_size, noise_dim)
    fake_images = generator(noise, training=False)
    return fake_images
Step 5: Visualize Generated Images
To visualize the output of our generator, we can write a function to display a grid of generated images:
def visualize_generated_images(generator, batch_size, noise_dim, num_examples_to_generate):
    fake_images = generate_fake_images(generator, num_examples_to_generate, noise_dim)
    fake_images = 0.5 * fake_images + 0.5  # Normalize the pixel values to [0, 1]

    fig, axes = plt.subplots(4, 4, figsize=(10, 10))
    for i in range(num_examples_to_generate):
        ax = axes[i // 4, i % 4]
        ax.imshow(fake_images[i, :, :, 0], cmap='gray')
        ax.axis('off')
    plt.show()
Step 6: Generate and Visualize Images
Now that everything is set up, we can generate and visualize fake images:
noise_dim = 100
num_examples_to_generate = 16

generator = build_generator()
visualize_generated_images(generator, num_examples_to_generate, noise_dim, num_examples_to_generate)
This code will generate a grid of 16 fake images created by the generator.
Congratulations! You’ve just created your first generative AI model using TensorFlow. You’ve witnessed how a simple neural network can generate images from random noise. In the next section, we’ll delve deeper into the world of neural networks and their role in generative AI.
Training Your Generative AI Model
Preparing Data
Before you can train your generative AI model, you need to prepare your dataset. In the context of image generation, you’ll typically work with a dataset containing real images that your model will learn from. Some common datasets for generative image tasks include CIFAR-10, MNIST, or custom datasets specific to your project.
Here are the steps to prepare your data:
- Data Collection: Gather a dataset of real images. You can use publicly available datasets or collect your own if applicable.
- Data Preprocessing: Clean and preprocess your data. This may involve resizing images, normalizing pixel values, and splitting the dataset into training and validation sets.
- Data Loading: Use TensorFlow’s data loading utilities to efficiently load and process your data.
Training Process
Once your data is prepared, it’s time to train your generative AI model. Training involves optimizing the model’s parameters to generate realistic images. Here’s an overview of the training process:
- Loss Function: Define a loss function that measures how different the generated images are from real ones. For generative models like GANs, you typically use adversarial loss, which encourages the generator to produce images that are indistinguishable from real ones.
- Optimization: Choose an optimization algorithm, such as Adam or SGD, to minimize the loss function. TensorFlow provides various optimizers to choose from.
- Training Loop: Set up a training loop that iterates through your dataset. In each iteration, the generator generates fake images, the discriminator evaluates both real and fake images, and the model’s parameters are updated based on the loss.
- Hyperparameters: Experiment with hyperparameters like learning rate, batch size, and training epochs to find the best settings for your specific task.
Training a generative AI model can be computationally intensive and may require access to a GPU for faster training. It’s essential to monitor training progress, visualize generated images, and adjust hyperparameters as needed to achieve desirable results.
Evaluating and Improving Your Model
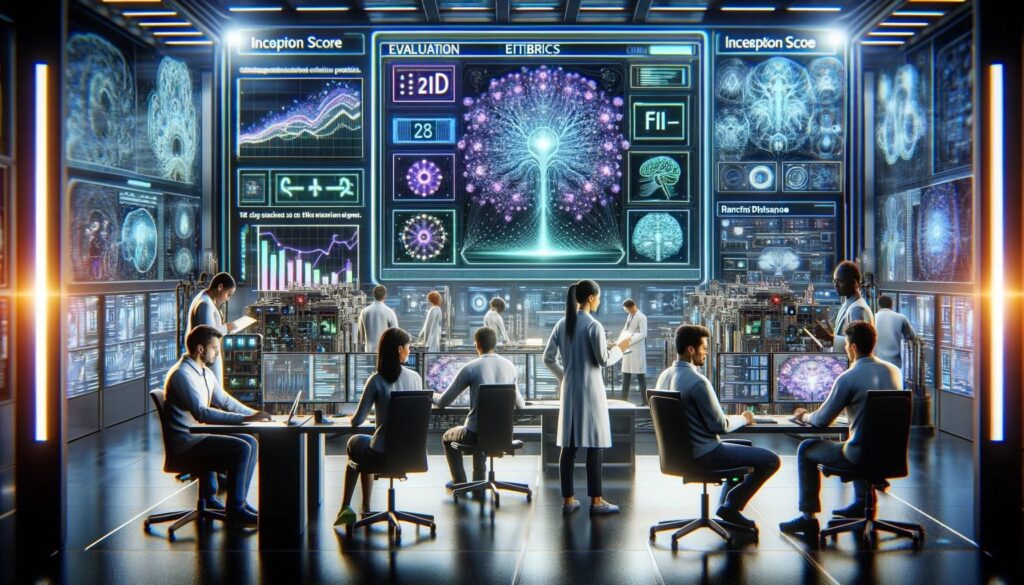
Evaluation Metrics
Evaluating the performance of your generative AI model is crucial to ensure it’s generating high-quality content. Here are some common evaluation metrics:
- Inception Score: Measures the quality and diversity of generated images.
- FID (Frechet Inception Distance): Compares the statistics of generated images to real ones, providing a more robust evaluation of image quality.
- Perceptual Metrics: Use pre-trained neural networks to compute perceptual metrics like SSIM (Structural Similarity Index) and PSNR (Peak Signal-to-Noise Ratio) to assess image similarity.
- Human Evaluation: If possible, gather human feedback to evaluate the subjective quality of generated content.
Fine-Tuning
To improve the performance of your generative AI model, consider fine-tuning it. Fine-tuning involves making incremental adjustments to the model architecture, loss functions, or hyperparameters based on the evaluation results.
- Architecture Modifications: Experiment with more complex or customized neural network architectures for both the generator and discriminator.
- Loss Function Refinement: Tweak the loss function to better align with your specific generative task.
- Data Augmentation: Augment your training data to increase diversity and improve generalization.
- Transfer Learning: Consider using pre-trained models and transfer learning techniques to boost performance.
Regularly evaluating and fine-tuning your model is an iterative process that leads to better generative results over time.
Real-World Applications
Art Generation
Generative AI has found applications in the world of art. Artists and designers use generative models to create unique and innovative artworks. For example, AI-generated paintings, sculptures, and digital art have gained recognition in the art community. Generative models can inspire artists by producing novel ideas and visual styles.
Text Generation
Generative AI is not limited to images; it can also generate text. Text generation models like GPT (Generative Pre-trained Transformer) have the ability to compose poetry, generate stories, and even write code. These models are used in content generation, chatbots, and creative writing.