This tutorial will walk you through step by step to upgrade your MySQL database to version 4.x on a Windows Machine. I am going to assume to that you already have MySQL version 3.x or earlier installed on your Windows machine.
Time to Upgrade!!
This tutorial will walk you through step by step to upgrade your MySQL database to version 4.x on a Windows Machine.
I am going to assume to that you already have MySQL version 3.x or earlier installed on your Windows machine. If you are not sure what version of
MySQL you are running, log into MySQL using DOS prompt and it will display the version information at the very beginning. If you have phpmyadmin, you can also look up the version information there.
Time to Back it up!
If you have some data that you would like to backup, do so now. You can either dump your data to a file ( http://dev.mysql.com/doc/mysql/en/mysqldump.html ) and then import it back in once the new MySQL has been installed, OR you can simple copy all the data in the “data” directory and save it to a temporary folder. On my computer MySQL is installed under c:\mysql. So if I were to backup my data, I would copy and save all files and sub-folders in the folder c:\mysql\data. After the update all I will have to do is copy the data back to the new data folder.
Time to Download the new MySQL version 4.x!!
At this time the latest stable release from MySQL is version 4.0.20d. You can download the setup file from http://dev.mysql.com/downloads/mysql/4.0.html
While you are there, also download the MySQL Administrator (Graphical Client) from http://dev.mysql.com/downloads/administrator/index.html
This is a graphical administrator client which allows you to create users, set permissions and manage the database through a graphical user interface. (Trust me.. its worth downloading!)
Time to Take It OFF!!
The uninstall is a two step process. First we are going to stop the service and then we will remove the service. To stop the service open up your
Command Prompt (Start > Run > cmd) and browse to the “bin” directory of MySQL (c:\mysql\bin). Next issue the following command:
c:\mysql>mysqladmin -uroot -p yourpassword shutdownIf you are not the root user, but have admin privileges, you can type in your username and password to shutdown the service:
C:\mysql\bin>mysqladmin --user=sql --password=sql shutdownNext REMOVE the service like this:
C:\mysql\bin>mysqld --removeYou will see a confirmation that the service has been removed:
Service successfully removed.
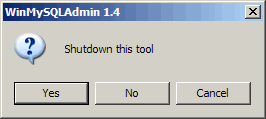
If you still see the Traffic Light in the taskbar, right click on it, choose Win NT and click on “Shutdown this tool”

Click on “YES” when prompted.
Rename the c:\mysql directory to something like c:\mysql_OLD. I did not delete the directory because in case my installation fails, I can always come back to old MySQL.
Also rename the file “my.ini” which resides under c:\windows\. I renamed this file to “my_OLD.ini”.
Time to Bring it ON!!
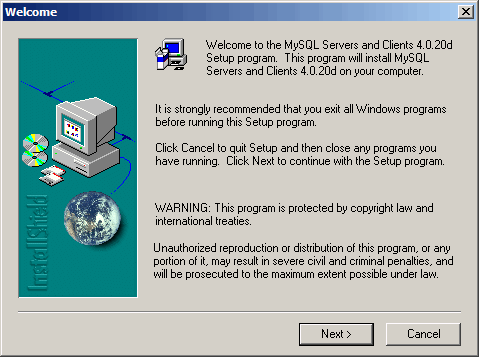
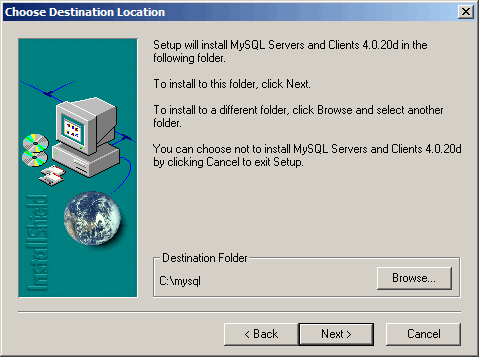
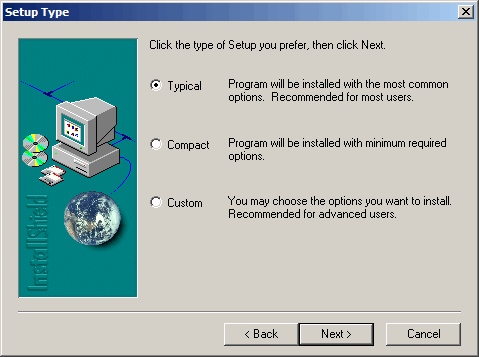
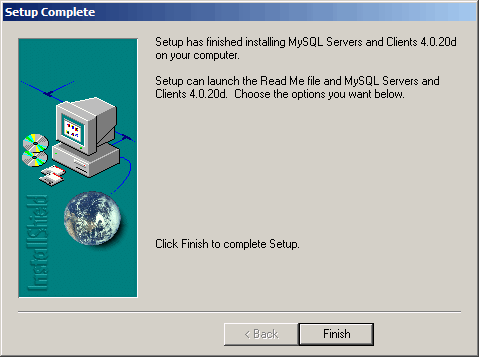
Extract the “mysql-4.0.20d-win.zip” file that you downloaded from MySQL’s website and run the “SETUP.EXE” file to start installations. Following are some screen captures from the installation program.
Now open Windows Explorer and double-click on mysqld.exe located in the bin folder of MySQL (C:\mysql\bin)
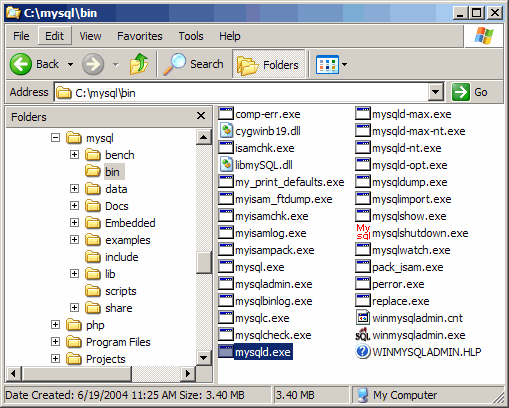
A command prompt window will open and automatically close after it installs the service. Now double-click on winmysqladmin.exe located in the “bin” folder
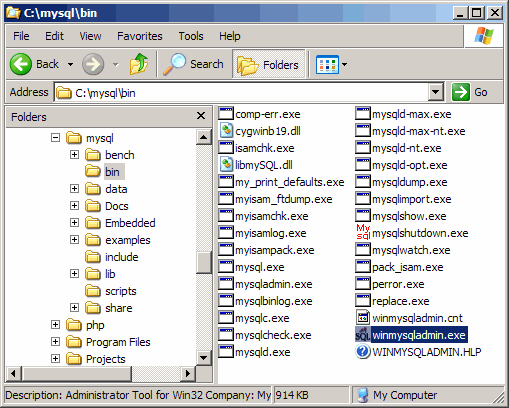
Once the application starts, it will ask you to enter a username and password. You MUST enter this information in order to proceed. Once you enter the password and click “OK” you will see a Traffic Light in the taskbar. If it is green, it means you are good to go!
Time to Take it to the STREETS!!!
Now that you have successfully installed MySQL, it is now time to install the MySQL Administrator. This is NOT a requirement, but it makes life much easier. Please see my tutorial “How to install MySQL Administrator V 1.x on Windows XP” for detailed instructions on installing and creating users in MySQL Administrator


