This tutorial uses DataReaders to read the data from a Microsoft Access Database in Visual Studio .Net 2003. ASP.NET web application is used in this tutorial so at the end you will have a web page that derives its data from an Access database.
This tutorial is available as a VIDEO in Flash Format. To access the video tutorial, click here
You can use DataSets or DataReaders to read the information from the database. A DataReader is about twice as fast as a DataSet (according to Sams Publication). This tutorial uses DataReaders to read the data from a Microsoft Access Database
in Visual Studio .Net 2003. ASP.NET web application is used in this tutorial so at the end you will have a web page that derives its data from an Access database.
Following are screen-shots along with some description but I recommend you view the VIDEO TUTORIAL.
STEP-1:
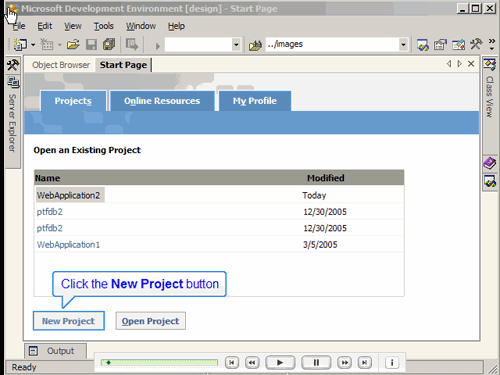
Open up Visual Studio .NET 2003 and click on New Project on the Start page:
STEP-2:
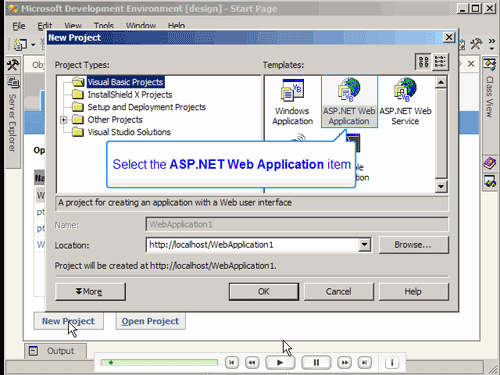
In the New Project window select Visual Basic Projects on the left side and click on ASP.NET Web Application on the right.
Assign a location in the location tab and click OK to continue
STEP-3:
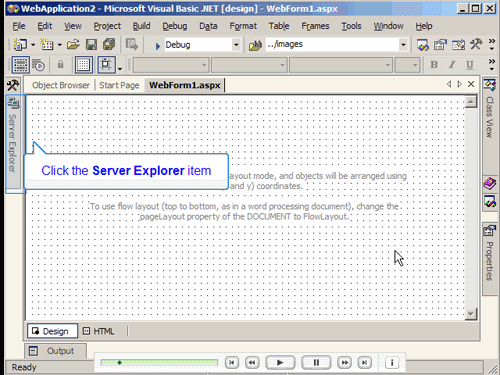
When the web form opens up, click on the Server Explorer tab at the left:
STEP-4:
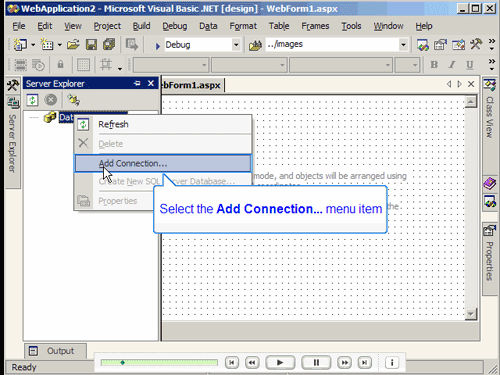
Right click on Data Connections and select Add Connection…
STEP-5:
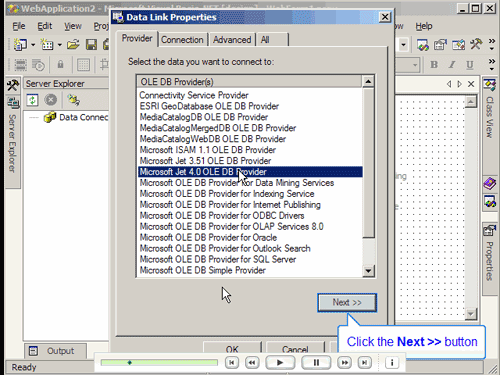
Under the Provider tab, select Microsoft Jet 4.0 OLE DB Provider. You will use this to connect to an Access database. If you have a SQL database, make sure you select the right provider from this list. Click on Next to continue
STEP-6:
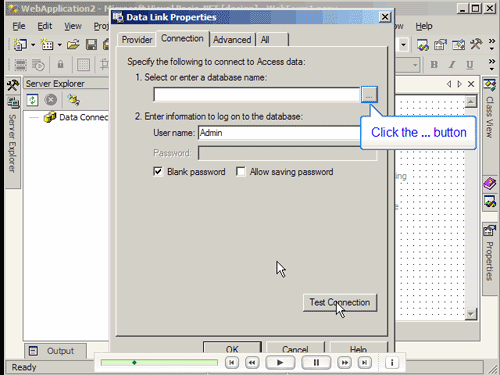
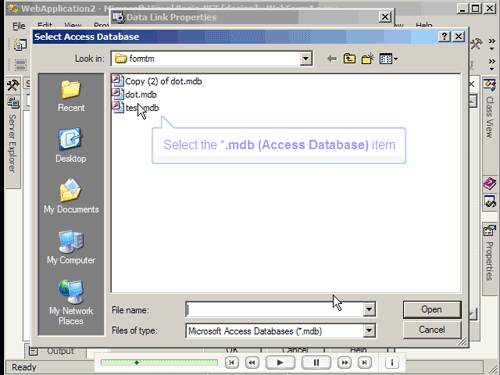
Under the Connection tab, select the … button to select the database you are connecting to.
Once the location to the database has been defined, click on the Test Connection button make sure your database is visible to the application.
STEP-7:
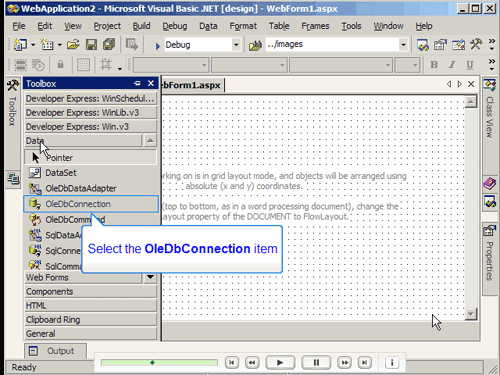
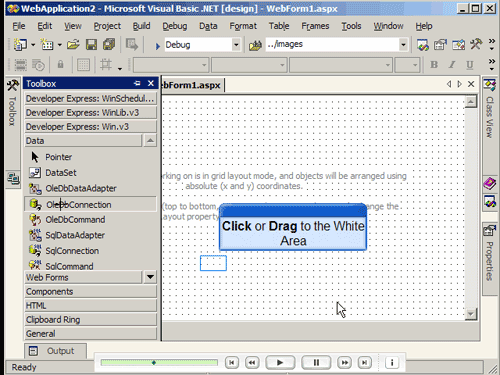
From the Toolbox menu look under the Data tab and click on OleDbConnection. Once clicked, click on the white space of your project. You can also drag and drop this to the white space.
STEP-8:
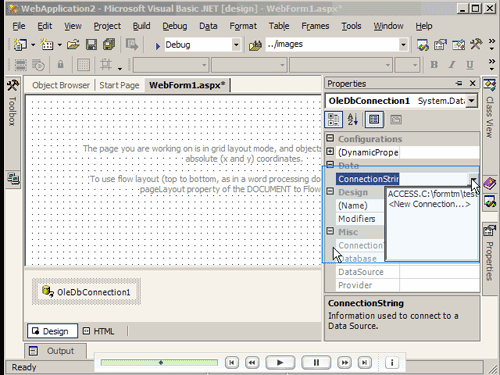
Right click on the OleDbConnection1 in your project area and select Properties.
In the ConnectionString field, click on the drop-down button and select the database path that shows up. This creates a connection to the database in our project.
STEP-9:
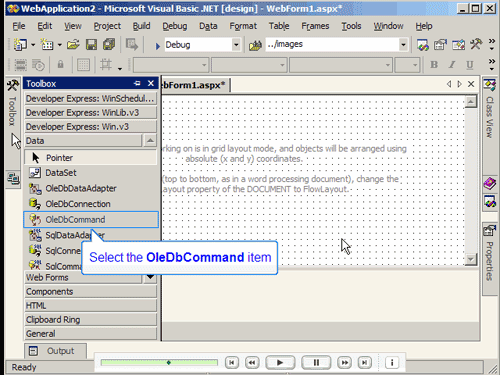
Next we need to set a command for this database that will query the database and bring back data. For this we will need to use the
OledbCommand object. Select it and click on the white are in your project window.
STEP-10:
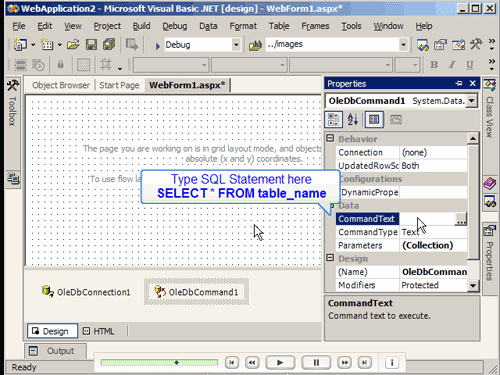
Right click on OleDbCommand1 object in your project window and click on Properties. In the CommandTextfield, type in your select statement
(e.g. Select * FROM tablename WHERE column1 = ‘somevalue’ )
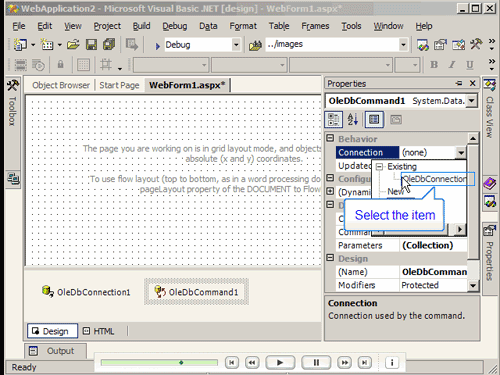
STEP-11:
Before you close the properties, there is one more thing you need to do. You need to tell the application that this command is associated with the database connection we created earlier. To do this, select the Connection field and expand the Existing option to see the OleDbconnection1 we created. Click on it to select it.
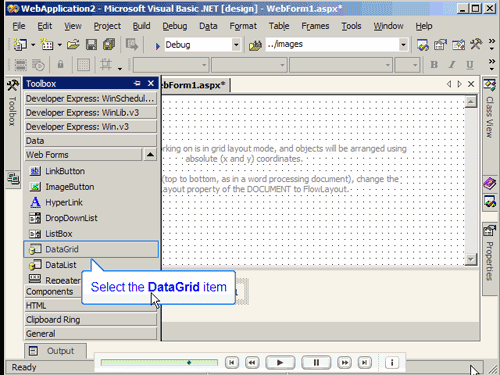
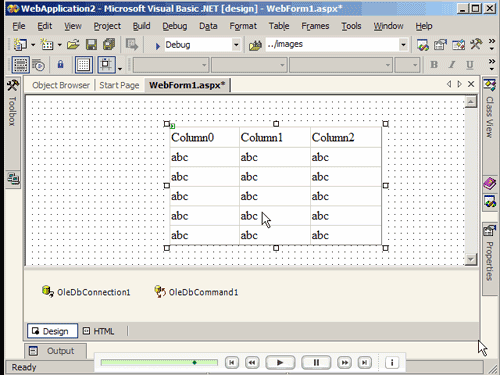
STEP-12:
Now we have all the objects that we needed to define the database parameters. Its not time to create a DataGrid that will display the data in our web page. To do that, select the DataGrid option under the Web Forms tab and draw a window in your project area (simply click and drag).
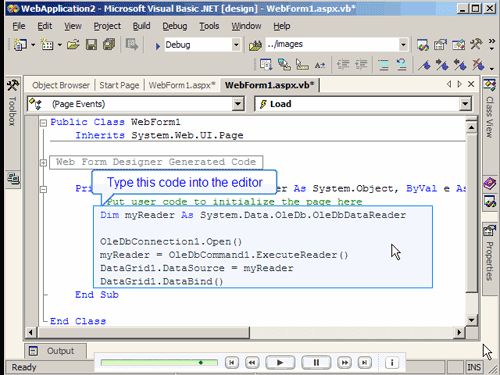
STEP-13:
Double click anywhere in the project window to view the code for this page. When the code window comes up, type in the code as shown in the following image:
STEP-14:
Go back to the project view and click on the RUN button to run the code. The results from the database will show up in a web page.
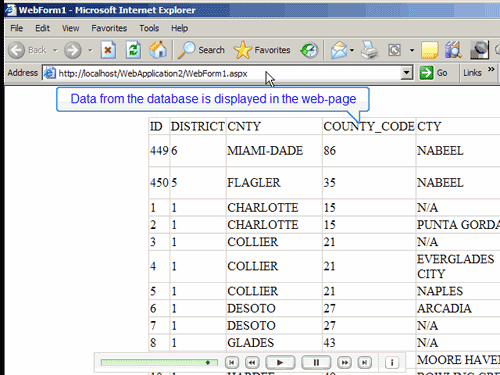
I hope this helps.


