In this tutorial you will go through a few easy examples of using the ColorMatrix object with which we apply 3 different effects to a single picture (negative colors, grayscale, color translation). We also learn how to resize the form depending on the size of the loaded picture.
We won’t be going deep into the ColorMatrix object, instead we’ll see 3 samples of how the ColorMatrix is being used to apply effects to a picture.
First we start with designing the form:
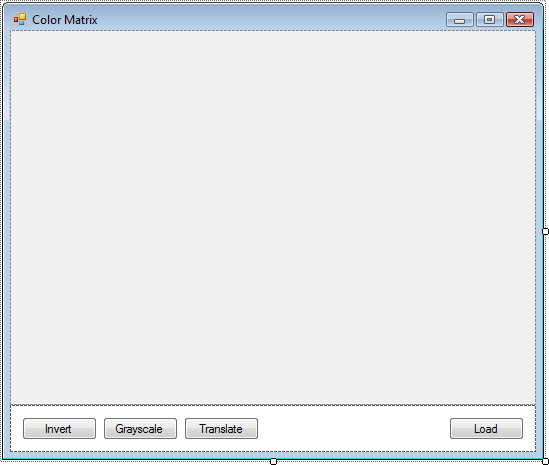
btnInvert, btnGrayscale, btnTranslate and btnLoad are all the buttons that we need here, and then there’s a PictureBox entitled picPicture that dock fills the form. There’s also a openPicture OpenFileDialog
The objects that we’ll use in this application are to be declared at the beginning of the application:
Image imgPicture;
Bitmap bmpPicture;
System.Drawing.Imaging.ImageAttributes iaPicture;
System.Drawing.Imaging.ColorMatrix cmPicture;
Graphics gfxPicture;
Rectangle rctPicture;
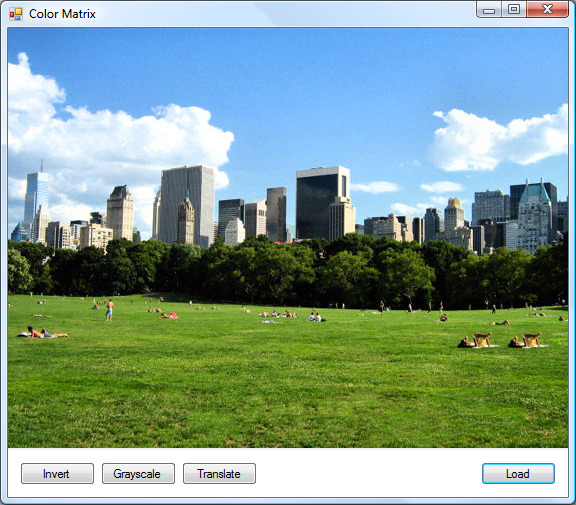
This is everything we need to start manipulating a picture. First we need to add functionality to the btnLoad button; this will load a picture into the PictureBox and also resize the form to fit the size of the picture. In my Visual Studio project I defined a minimum width and height for the form so that it doesn’t get too small when you open a tiny picture.
Here comes the click event of the Load button:
private void btnLoad_Click(object sender, EventArgs e)

{

    // Open dialog to browse for picture

    if (openPicture.ShowDialog() == DialogResult.OK)

    {

        // Store the picture in an Image object from the file

        imgPicture = Image.FromFile(openPicture.FileName);

        // Set the picture in the PictureBox

        picPicture.Image = imgPicture;

        picPicture.Size = picPicture.Image.Size;

        // Set the size of the PictureBox and Form to fit the picture

        this.Size = picPicture.Image.Size;

        this.Width += 16;

        this.Height += 85;

    }

}
You’d probably think it’s time to move to the Invert, Grayscale and Translate buttons. First we’re going to create two methods, one that prepares the picture for being transformed and one that applies the effect to the picture. The one that prepares the picture checks if there’s a picture, initializes a bitmap object and initializes an ImageAttributes object.
private void PreparePicture()

{

    // If there's a picture

    if (imgPicture != null)

    {

        // Create new Bitmap object with the size of the picture

        bmpPicture = new Bitmap(imgPicture.Width, imgPicture.Height);

        // Image attributes for setting the attributes of the picture

        iaPicture = new System.Drawing.Imaging.ImageAttributes();

    }

}
We should also create a FinalizePicture() method where we apply the effect to the picture and displays it in the PictureBox:
private void FinalizePicture()
{
// Set the new color matrix
iaPicture.SetColorMatrix(cmPicture);
// Set the Graphics object from the bitmap
gfxPicture = Graphics.FromImage(bmpPicture);
// New rectangle for the picture, same size as the original picture
rctPicture = new Rectangle(0, 0, imgPicture.Width, imgPicture.Height);
// Draw the new image
gfxPicture.DrawImage(imgPicture, rctPicture, 0, 0, imgPicture.Width, imgPicture.Height, GraphicsUnit.Pixel, iaPicture);
// Set the PictureBox to the new inverted colors bitmap
picPicture.Image = bmpPicture;
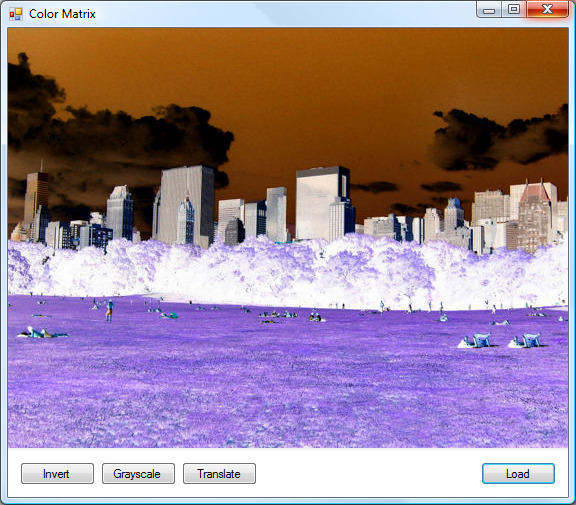
}Negative Picture / Invert Colors The first effect we’re going to apply today is the one of turning the colors of an image into their negative counterpart. The Click event of btnInvert prepares the picture, creates a negative matrix by setting the RGB (Red, Green and Blue) elements of the matrix to their negative value (-1).
private void btnInvert_Click(object sender, EventArgs e)

{

    PreparePicture();

    cmPicture = new System.Drawing.Imaging.ColorMatrix();

    // Change the elements

    cmPicture.Matrix00 = -1;

    cmPicture.Matrix11 = -1;

    cmPicture.Matrix22 = -1;

    FinalizePicture();

}
Grayscale Picture How about adding that early 20th century look to your pictures? We’re going to get the image through a ColorMatrix again. However, this time we’re going to work lower level on it:
private void btnGrayscale_Click(object sender, EventArgs e)

{

    PreparePicture();

    cmPicture = new System.Drawing.Imaging.ColorMatrix(new float[][]

    {

        new float[]{0.5f, 0.5f, 0.5f, 0, 0},

        new float[]{0.5f, 0.5f, 0.5f, 0, 0},

        new float[]{0.5f, 0.5f, 0.5f, 0, 0},

        new float[]{0, 0, 0, 1, 0, 0},

        new float[]{0, 0, 0, 0, 1, 0},

        new float[]{0, 0, 0, 0, 0, 1}

    });

    FinalizePicture();

}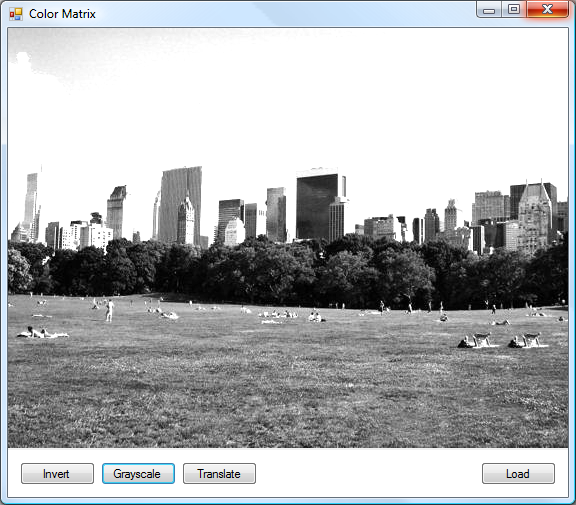
Some graphic editors apply different effects along to grayscale so that the image doesn’t appear too exposed / bright.
Translate Picture This effect is probably oddest of them all, but very useful. It can be used for different effects, from brightning the image to colorizing it. Right now we’re going to colorize it to green with a .50 intensity. You can change the values in the last line of the matrix for a different color or try equal values at each value for other effects.
private void btnTranslate_Click(object sender, EventArgs e)

{

    PreparePicture();

    cmPicture = new System.Drawing.Imaging.ColorMatrix(new float[][]

    {

        new float[] {1, 0, 0, 0, 0},

        new float[] {0, 1, 0, 0, 0},

        new float[] {0, 0, 1, 0, 0},

        new float[] {0, 0, 0, 1, 0},

        new float[] {.0f, .50f, .0f, .0f, 1}

    });

    FinalizePicture();

}
This tutorial is supposed to give you a prime insight into the ColorMatrix object and what can be done with it. There is a multitude of algorithms out there that you can apply to the image using the ColorMatrix object.


