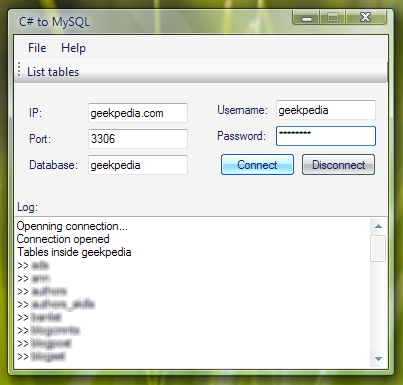
In this tutorial we will see how a .NET application can connect to a MySQL server and perform queries on the database. The application uses the MyODBC driver to establish an ODBC connection to the server.
Some developers are having a hard time connecting a .NET application to a MySQL server. I found this task to be rather easy, using an ODBC driver called MyODBC. There are several ways to connect to a MySQL database from a .NET application, however using MyODBC proved to be the simplest, cleanest and it works like a charm.
Setting up the MyODBC driver
Before starting you need to download and install MyODBC on the machine that will act as the client (the machine that will connect to the server). Here is what happens if you run the application and try to connect without having MyODBC installed and configured:

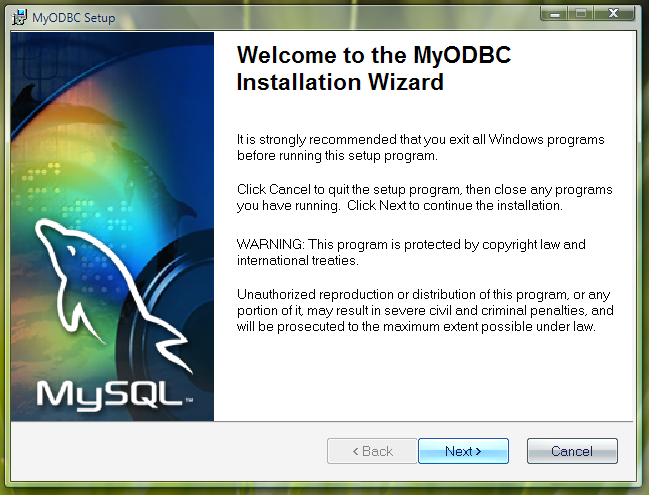
After installing, open Data Sources (ODBC) from the Control Panel. Click Add… and the following window shows up:
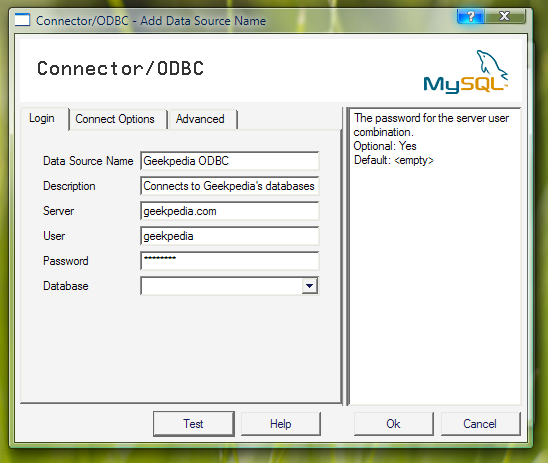
Fill the TextBoxes with information about your MySQL server. The important fields are Server, User and Password. Click Test and with a little bit of luck, you will see the following message:
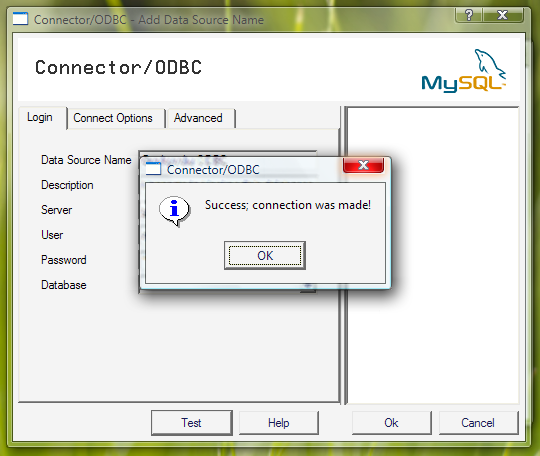
You can leave the database field as it is, or you can choose a default database which the driver will connect to. Also, you don’t need to deal with the other tabs of the window.
After clicking Ok to save the information, you will now see our newly created Data Source in the list:
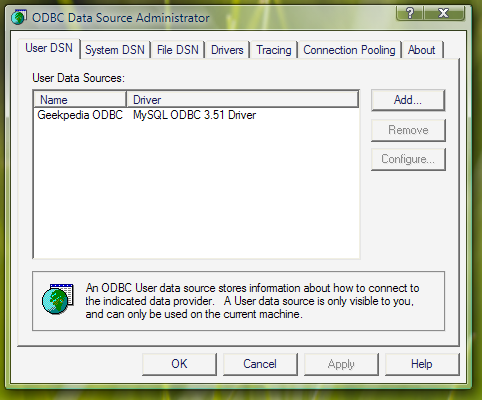
Now we’re ready to build the application and run it.
Creating a .NET application that connects to a MySQL database
Note that the code is written using .NET 2.0 and the project is created in Visual Studio 2005. However, this won’t stop you from using the code inside Visual Studio 2003 with .NET 1.1, because the code doesn’t need any changes between versions of the .NET Framework.
Let’s look at the most important pieces in our code.
private System.Data.Odbc.OdbcConnection OdbcCon;

private System.Data.Odbc.OdbcCommand OdbcCom;

private System.Data.Odbc.OdbcDataReader OdbcDR;

private string ConStr;
Here we declared an ODBC connection, command and data reader. We will need all these to connect, query and read data from the MySQL Server. The ConStr variable is a normal string variable that holds the connection string, of course, we could have passed the connection string directly without using an additional variable, but the code is more organized this way.
Now let’s have a look in the click event of the Connect button:
private void btnConnect_Click(object sender, EventArgs e)

{

   // Build the connection string

   ConStr = "DRIVER={MySQL ODBC 3.51 Driver};SERVER=" + txtIP.Text + ";PORT=" + txtPort.Text + ";DATABASE=" + txtDatabase.Text + ";UID=" + txtUsername.Text + ";PWD=" + txtPassword.Text + ";OPTION=3";

   OdbcCon = new System.Data.Odbc.OdbcConnection(ConStr);

   // Enable the List Tables button

   btnListTables.Enabled = true;
   try


   {

      // Try openning the connection


      txtLog.AppendText("Openning connection...\r\n");

      // Make sure the connection is closed

      if (OdbcCon.State == ConnectionState.Closed)

      {

         OdbcCon.Open();

         txtLog.AppendText("Connection opened\r\n");


      }

   }

   catch (System.Data.Odbc.OdbcException Ex)

   {

      // An error occured, give details

      txtLog.AppendText(Ex.Message + "\r\n");

      MessageBox.Show("Could not access the database.\r\nPlease make sure you completed the fields with the correct information and try    again.\r\n\r\nMore    details:\r\n" + Ex.Message, "Database connection error", MessageBoxButtons.OK, MessageBoxIcon.Error);

   }

}
The connection string is initialized here, using data from the TextBoxes on the form. Note the version of the MySQL ODBC driver, inside. Carefully enclosing in try/catch blocks, the lines that open the connection, we change the connection state of the ODBC connection to Open. We first check to make sure the connection is not already open.
Now to list the tables inside the database:
private void btnListTables_Click(object sender, EventArgs e)

{

   if (OdbcCon.State == ConnectionState.Open)

   {

      // Execute the SHOW TABLES query on the MySQL database

      OdbcCom = new System.Data.Odbc.OdbcCommand("SHOW TABLES", OdbcCon);

      OdbcDR = OdbcCom.ExecuteReader();

      txtLog.AppendText("Tables inside " + txtDatabase.Text + ":\r\n");

      // Loop through the list of tables and display each one

      while (OdbcDR.Read())

      {

         txtLog.AppendText(">> " + OdbcDR[0] + "\r\n");

      }

   }

}
We first check the state of the connection. If it is closed, we don’t want to try to execute a command on the MySQL Server. Then we execute the SHOW TABLES query, which is the MySQL query for getting a list of tables in the selected database. Using a DataReader we pass through each table and display it inside the txtLog TextBox.
To keep this tutorial simple, I haven’t added any other commands to be executed on the MySQL server, however you can perform any operation on the server. You can create new databases, select values, create tables, add values, edit values, delete databases and any other operation that you can think of, that MySQL supports through a query.
Also I should mention that even though this is a Windows application, the ODBC connection method works great with web applications too. That means you can easily build ASP.NET applications that use a MySQL database.
Here is the application running on Windows Vista:
